A kiosk is a tablet at your front desk running the self check-in page. Customers type their name and phone, pick a queue if you have more than one, and add themselves to the waitlist without any staff help.
Turn on self check-in for a location
- In the admin sidebar, click Settings, then Self Check-in.
- Flip the master Enabled toggle on.
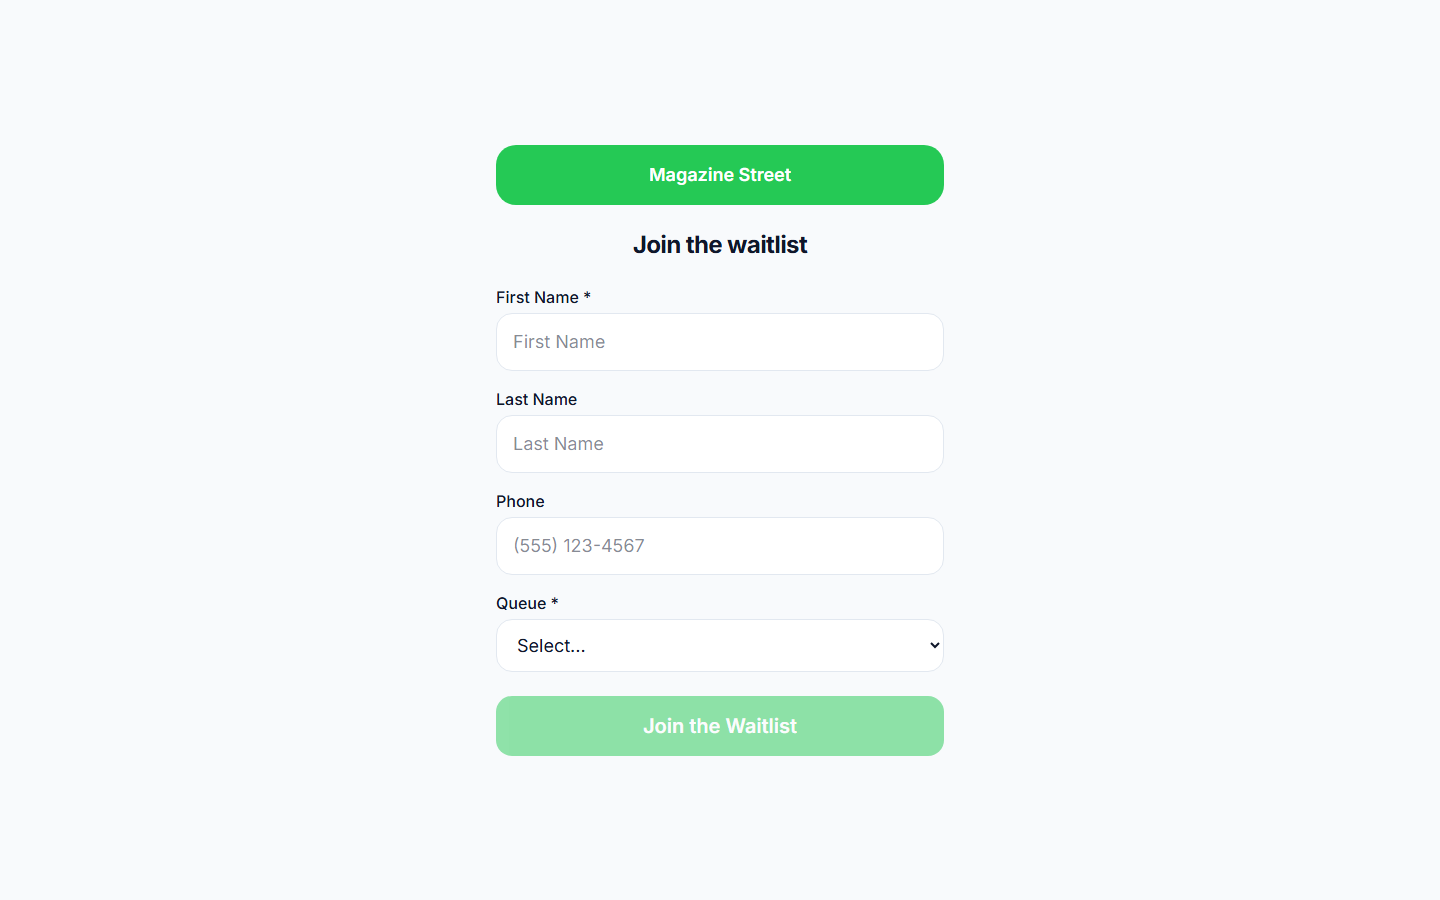
- Fill in the Welcome Message, choose Button BG Color and Button Text Color, and check which Fields to collect (First Name is always required; Last Name, Phone, Email, and Party Size are optional).
- Set a Queue Display Name, the Terms Text, Disclaimer Text, and a Custom Disabled Message for hours when self check-in is off.
- If you want self check-in to be available only during certain hours, toggle on Waitlist Hours and set open and close times per day.
- Click save. The same page shows your Check-in URL (
/checkin/:locationId) and QR code, which are for customers' own phones.
Load it on the tablet
- Open a browser on any iPad, Android tablet, or Chromebook and go to
/kiosk/:locationId(same location id as in your Check-in URL, with/kiosk/instead of/checkin/). - If you have multiple queues and want the tablet dedicated to one, add
?queue=:queueIdto the URL to skip the queue picker. - Turn on Guided Access on iOS or Kiosk Mode on Android so customers cannot leave the page.
After each customer joins, the page shows their position and estimated wait, then auto-resets after 8 seconds so the next person starts fresh.
Common problems
- Page shows the disabled message. The master Enabled toggle is off, or the current time is outside your Waitlist Hours.
- Queue picker keeps showing. Append
?queue=:queueIdto the URL, or the location only has one queue and the picker will auto-skip. - Tablet keeps leaving the page. Enable your device's kiosk lock (Guided Access on iOS, Kiosk Mode or a pinned-app on Android).
- A field you need is missing. Turn it on under Fields in Self Check-in settings, or add a custom field with visibility set to self_checkin.