A location represents a physical site, like one store, one office, or one clinic. Every queue belongs to exactly one location, and several settings (like services, self check-in, and custom fields) are configured per location. When you first sign up, MakeTheQueue creates one default location for you, so most single-site businesses do not need to add anything here.
Add a new location
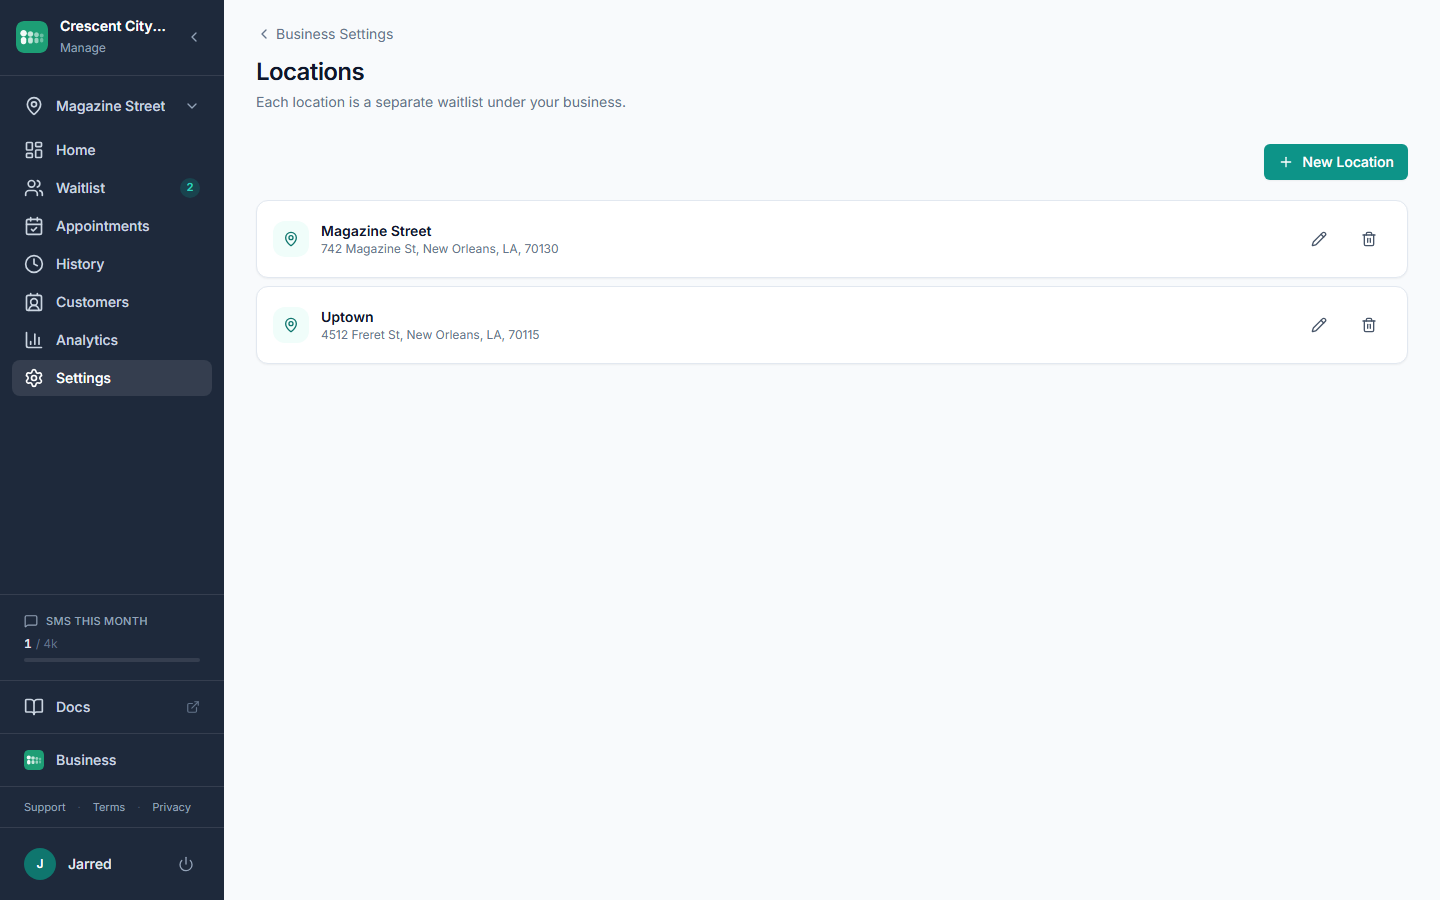
- In the admin sidebar, click Settings, then Locations.
- Click New Location.
- Fill in Name (required), plus Address, City, State, and Postal Code so customers see where to go.
- Optionally add a Phone and Email for the site.
- Pick the correct Timezone. This drives appointment slot times and reminder send times.
- Click Save. The new location appears as a card in the list.
What to do next
After the location is saved, you can create queues for it under Settings then Queues (pick the new location in the Location dropdown). Each location also has its own kiosk URL at /kiosk/:locationId and its own waiting room display at /display/:locationId. Services, self check-in settings, and custom fields can be set separately for each location, so teams at different sites can run their intake the way they want.
Common problems
- I only see one location and cannot find the switcher. The sidebar switcher only appears once you have more than one location.
- Appointment times look off. Check the Timezone on the location. Slot times use the location's timezone, not the browser's.
- Save fails. Name is the only required field; check it's filled in.
- The New Location button is replaced with an upgrade note. Your plan's location limit is reached. Upgrade to add more sites.