A queue is a single line at a location. Every queue belongs to one location, so if you haven't added yours yet, start there. Your account already has a default location and two default queues, so you can also just rename what's there.
1. Confirm your location
From the admin sidebar, open Settings → Locations. If the default location is fine, click Edit to fill in the details. If you need a new one, click Add location and fill in:
- Name (required): something customers will recognize.
- Address, City, State, and Postal Code (optional, but they appear on customer-facing pages, so fill them in).
- Phone, Email, and Timezone (recommended; timezone drives appointment slots and reminder send times).
2. Create the queue
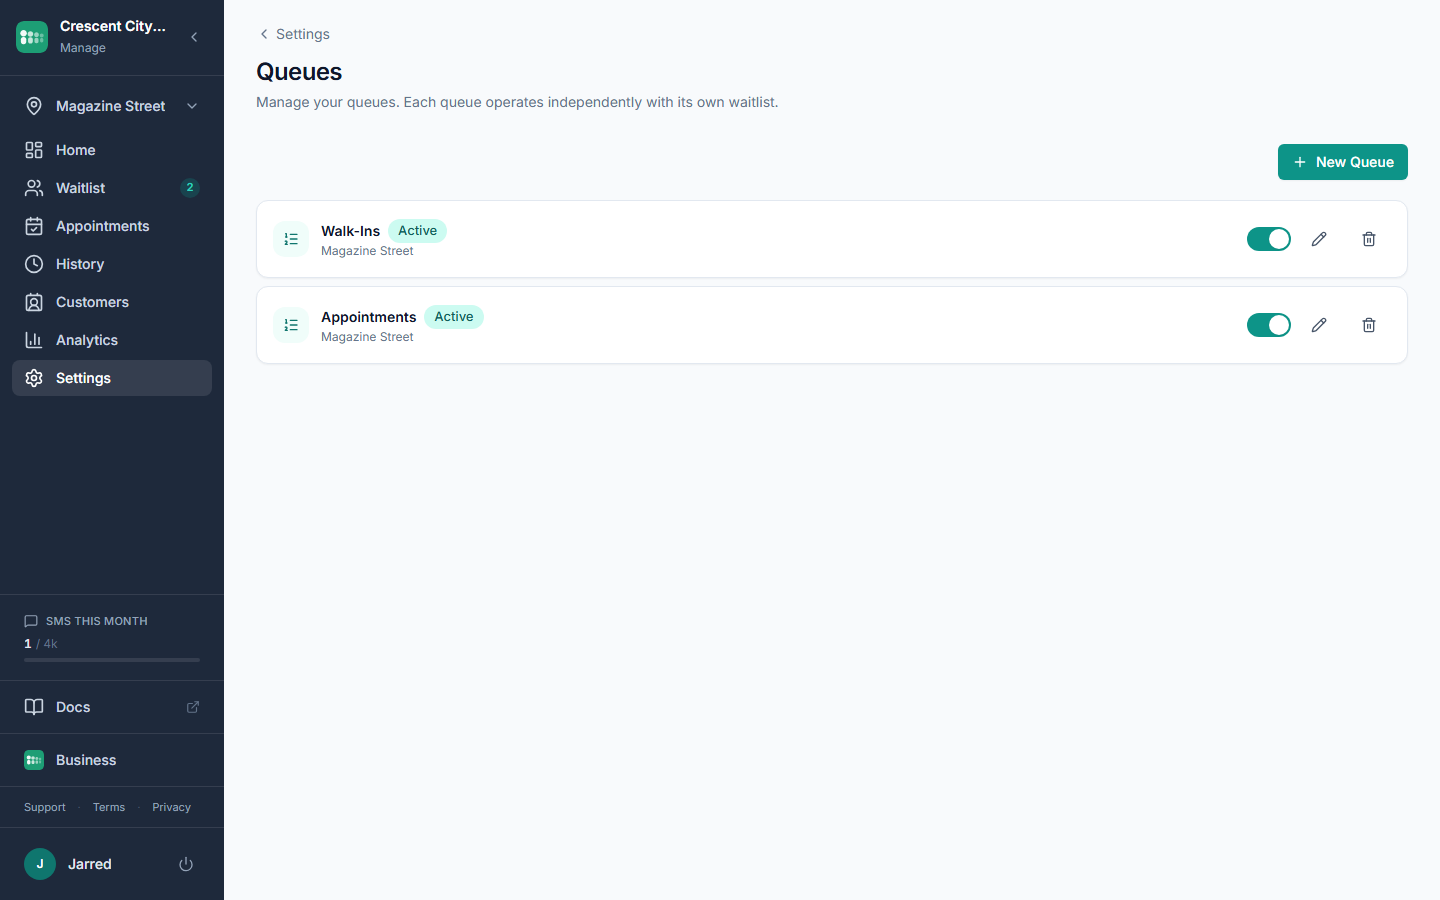
Open Settings → Queues and click New Queue. Fill in:
- Name (required): for example, "Walk-ins", "Haircuts", or "Oil change".
- Location: select from the dropdown if you have more than one location.
- Max Capacity (optional): the most people who can wait at once. When the queue is full, new customers can't join until someone is served or leaves.
- Daily Service Cap (optional): a soft daily target shown for reference. It doesn't block joins.
- Wait Time Method: choose average (uses recent history), service_time (uses each service's estimated minutes), or manual (you set one number).
Save. The queue appears in your sidebar and on the Waitlist page.
3. Get customers in
You have three ways to let customers join:
- Install the widget on your website so visitors can join from any page.
- Set up a tablet as a kiosk at
/kiosk/:locationIdso walk-ins can self check-in. - Print the QR code from the Self Check-in settings and put it at your counter.
4. Do a test run
- Open the kiosk URL on your phone and check yourself in.
- Open Waitlist in the admin sidebar on your computer. Your entry appears within a few seconds.
- Click Call Next, then Complete to run the full flow.
Common problems
- No Location dropdown on the queue form. That's expected when you only have one location. It gets attached automatically.
- Wait time shows 0 or looks off. The average method needs completed entries to learn from. Use manual on day one.
- Can't find the kiosk URL. It's at Settings → Self Check-in, along with the QR code and copy button.
- Queue won't save. Name is required. A location must exist before you can create a queue.