A queue is one line at one location. Most businesses start with one queue (for example, "Walk-ins") and add more when they need to separate service types or staff lines.
Add a new queue
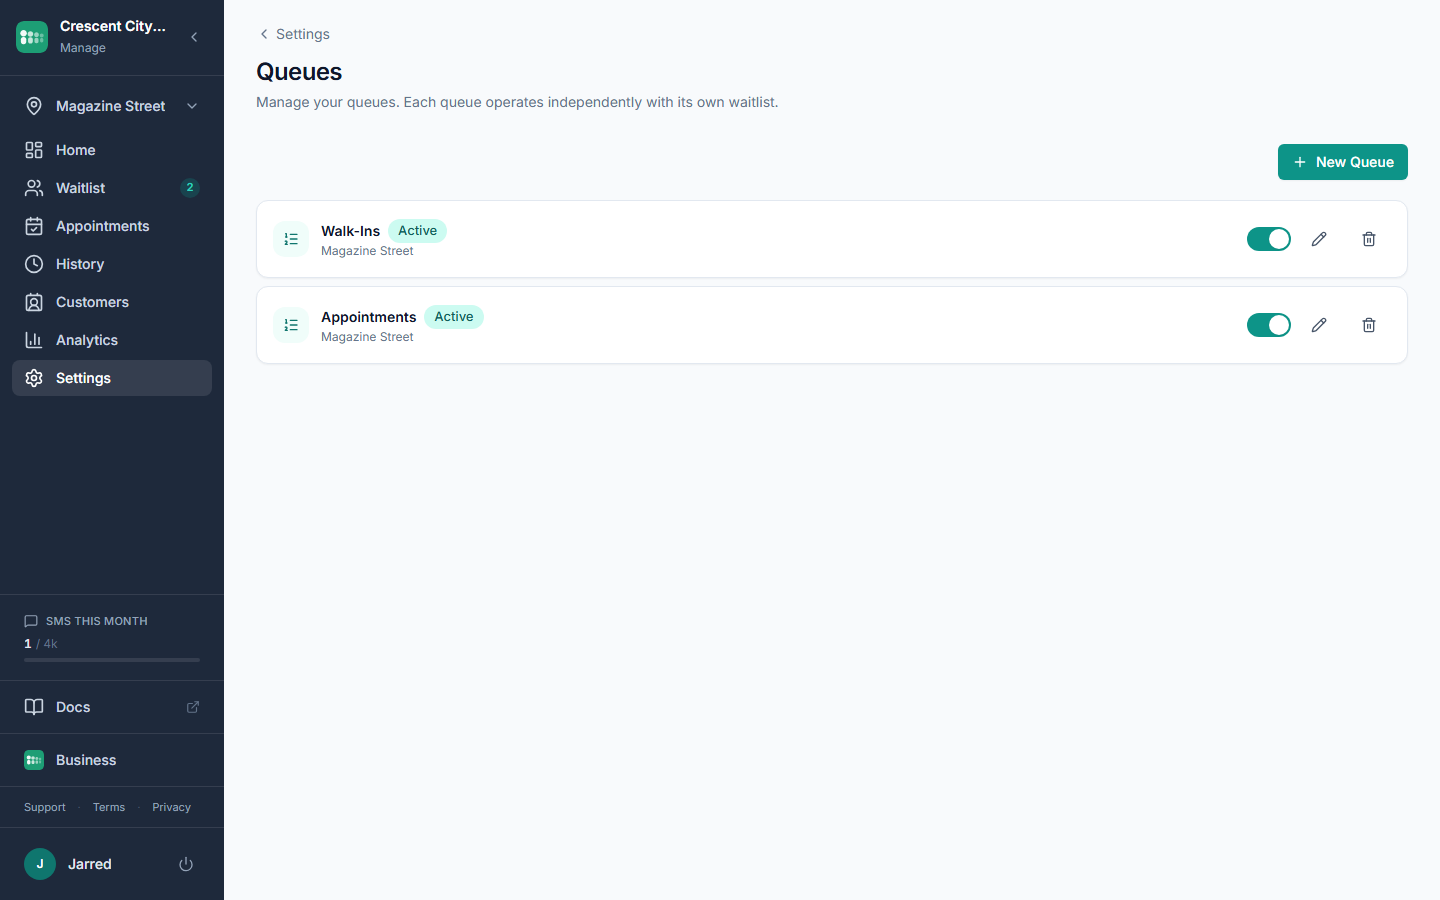
- In the admin sidebar, open Settings, then Queues.
- Click the button to add a new queue.
- Enter a Name. This is required and customers can see it, so keep it short and recognizable (for example, "Haircuts" instead of "Chair 3").
- If you have more than one location, choose one from the Location dropdown. A queue always belongs to a single location.
- Save the queue. It becomes available on the Waitlist page right away.
Pick a wait time method
The Wait Time Method dropdown controls what customers see as their estimated wait:
- average rolls up recent completed service times. Set Wait Time Average Count to choose how many recent entries to include.
- service_time uses the Estimated Minutes you set on each service. Good if your services have very different durations.
- manual uses a fixed number you type in Manual Wait Minutes. Good if you want full control.
Optional limits
Max Capacity caps how many people can wait at once. When the queue is full, new customers see a "queue is full" message and can't join until someone is served or leaves. Daily Service Cap is a soft daily target for your own reference; it doesn't block joins.
Common problems
- No Location dropdown appears. You only have one location, so the queue is assigned automatically. Add more from Settings, then Locations.
- Customers see a confusing name. The Name field is public. Rename it to match how customers describe the service.
- Wait times look wrong right after launch. The average method needs completed entries to calculate from. Switch to manual until you have history.
- Queue is missing from the Waitlist page. Check the queue selector at the top and the location switcher in the sidebar.